
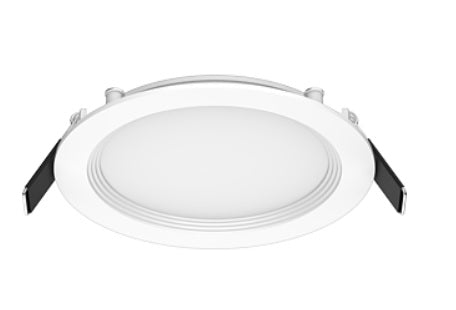
Juno Lighting 65BEMW HL SWW5 90CRI M6 14.5-Watt Switchable White High Lumen 6-Inch Baffle Trim LED Downlight
Choose your option
Juno Lighting 2LEDDRIVER G2 10LM 120 FRPC LED Driver, 1000 Lumens, 120V
Choose your option
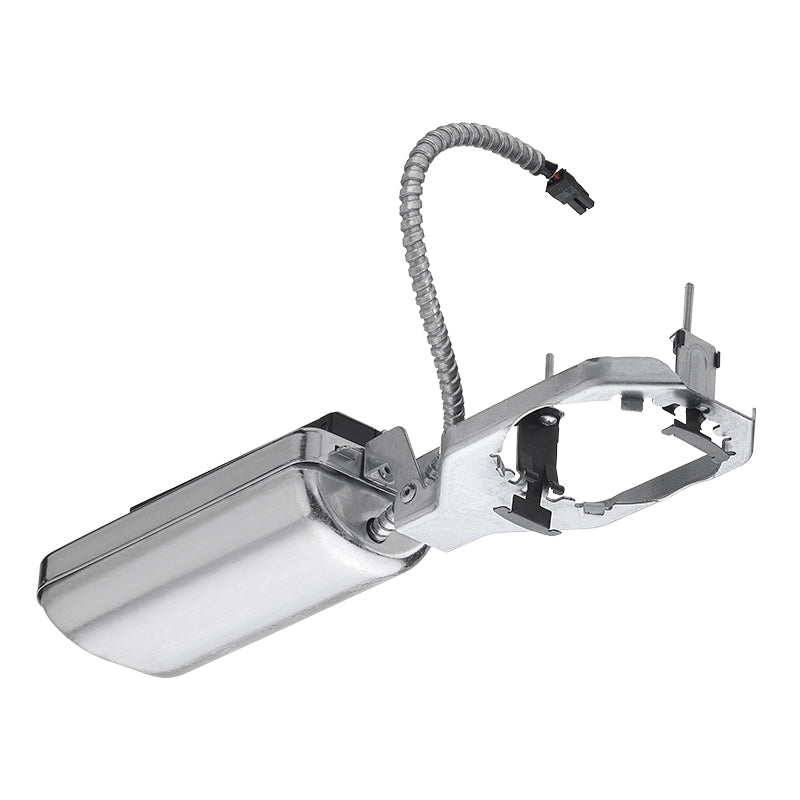
Lithonia Lighting LBR4 ALO2 SWW1 AR LSS MWD MVOLT UGZ 4 Inch LED Round Retrofit Downlight Switchable CCT and Lumens
Choose your option
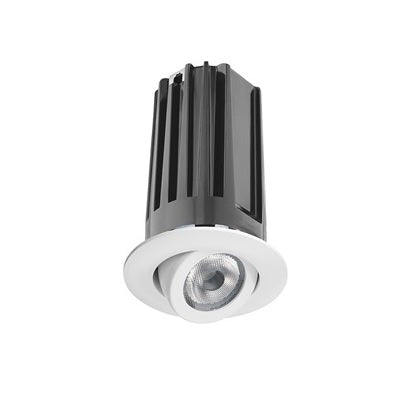
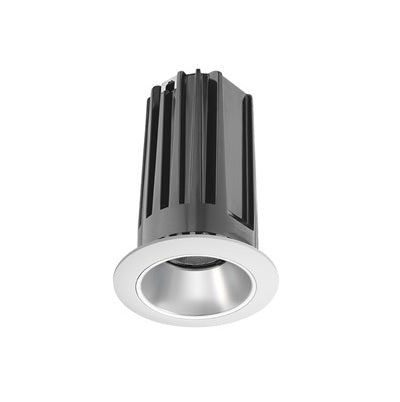
Juno Lighting 2LEDTRIM G2 ADJ 27K 90CRI FL WH 2 Inch IC Rated Adjustable Recessed Trim Module, White, 27K, 90CRI, Flood Optics, 120V
Choose your option
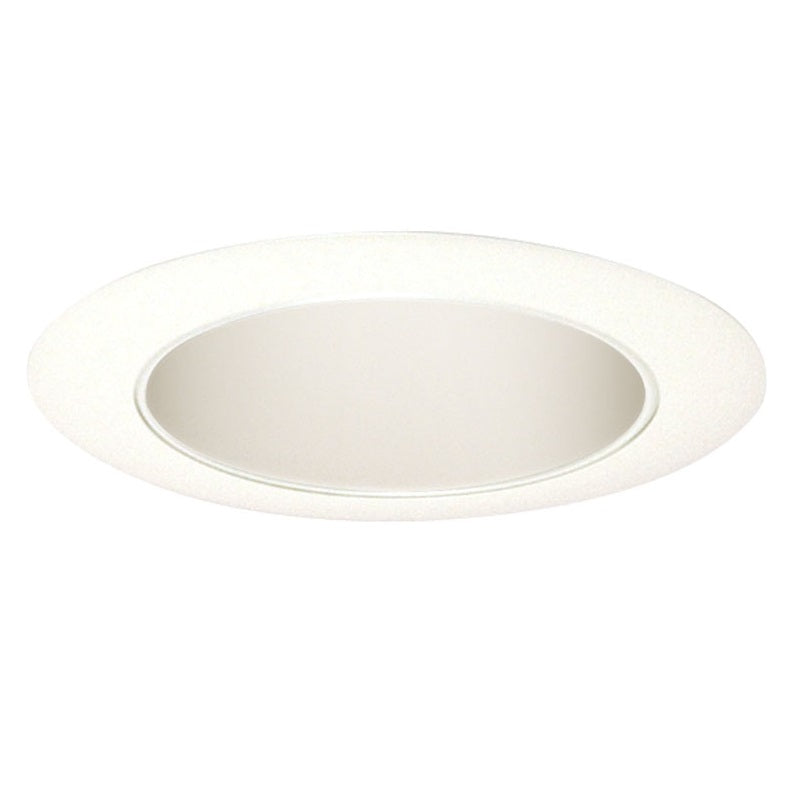
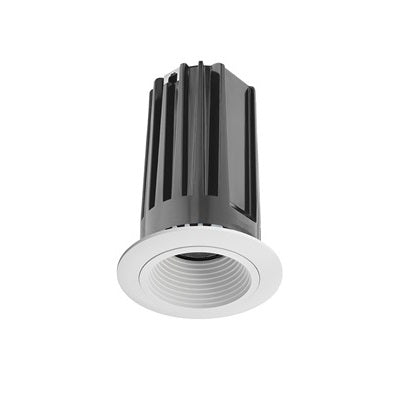
Juno Lighting 17 WWH 4-Inch Cone Trim, White Cone and White Trim
Choose your option
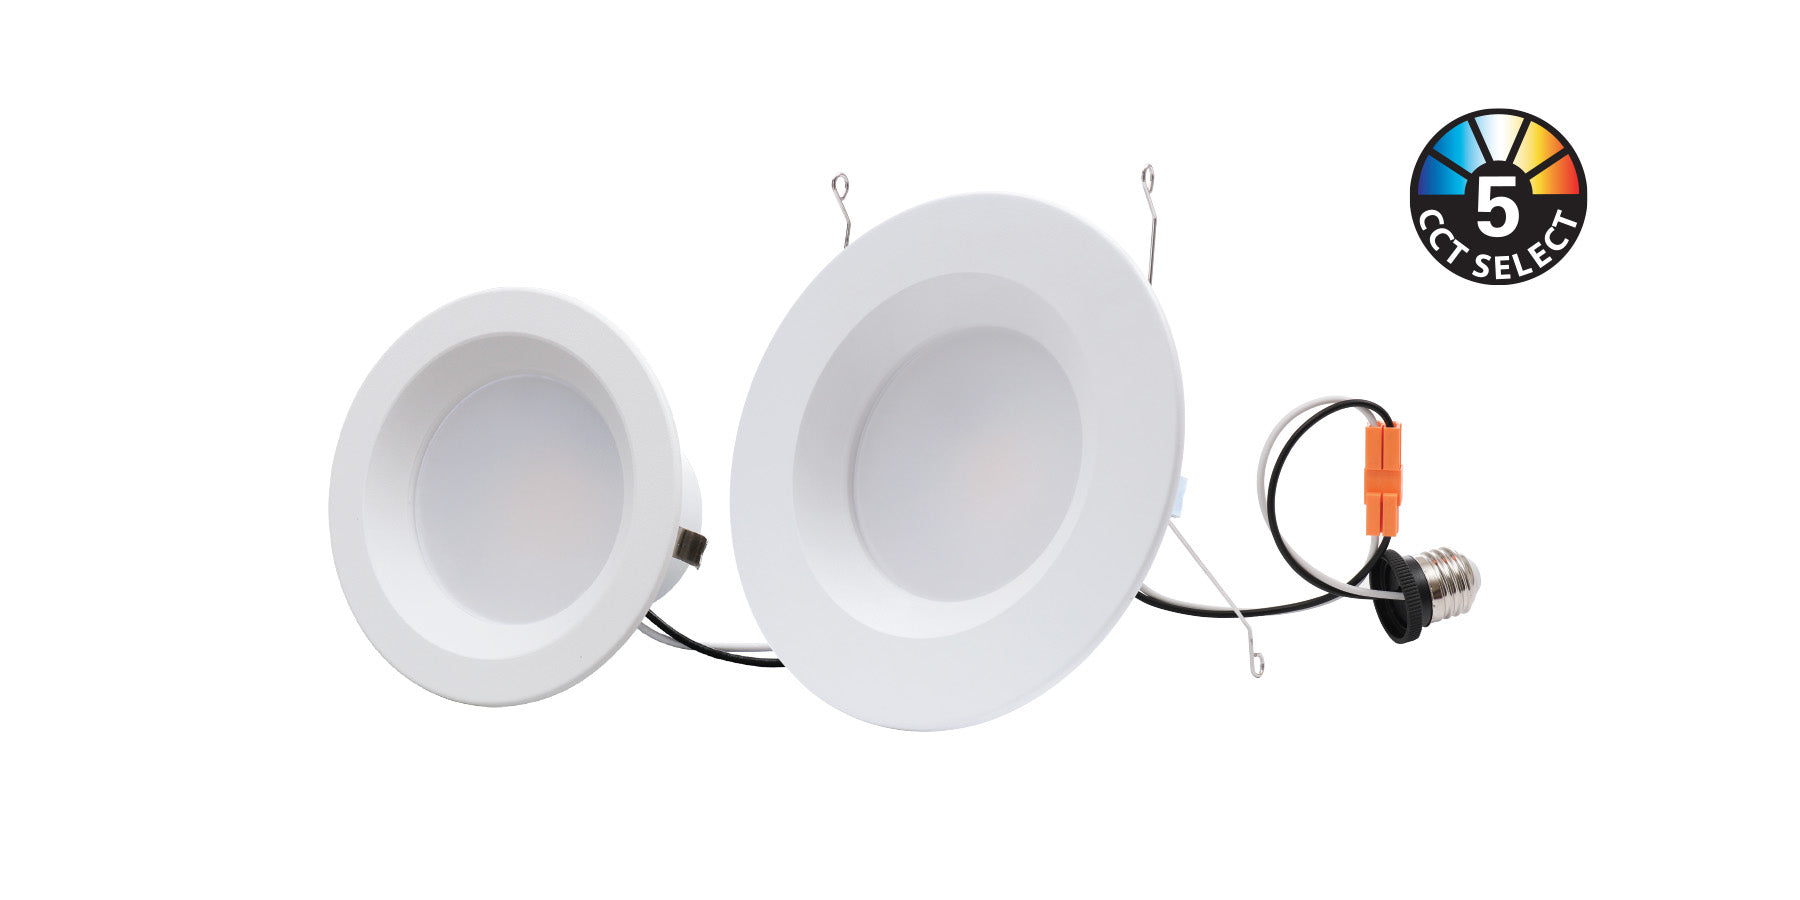
NaturaLED LED4RL10-75L9CCT5 10-Watt 4-Inch Color Selectable LED Recessed Downlight Retrofit
Choose your option
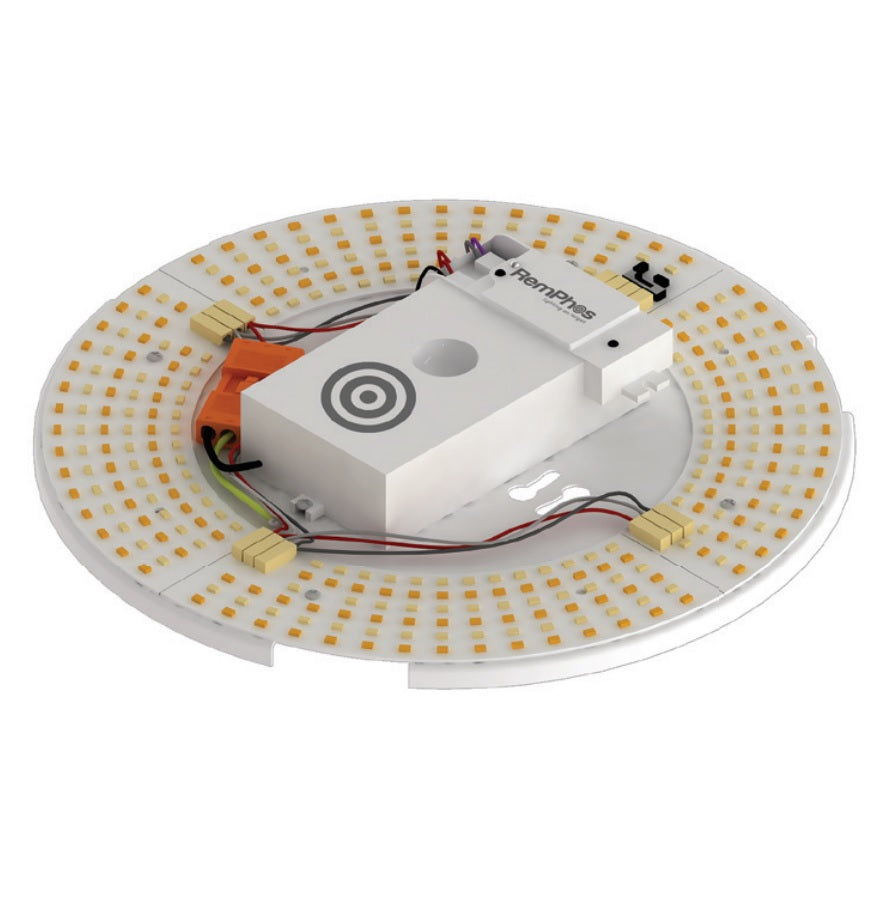
RemPhos RPT-P-LEDCR-G2-9IN-14L-840-FWFC 10 Watt LED 9 Inch Circular Drum Retrofit FLEXWATT+FLEXCOLOR 4000K Default Setting
Choose your option
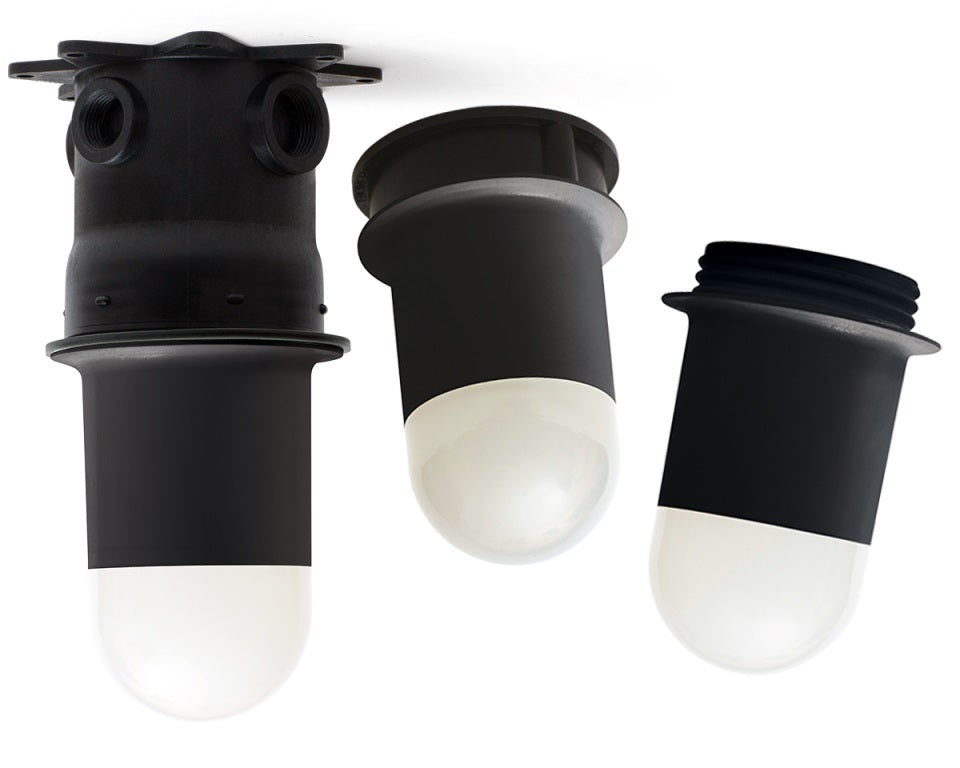
EPCO 15980 14 Watt LED ProSeries Junior Utility Lamp 5000K with Internal Heat Sink
Choose your option
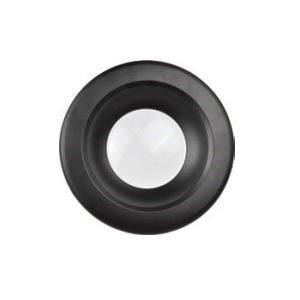
NaturaLED RT-6RL15-BK 6-Inch Black Recessed Trim for Downlight Fixtures
Choose your option
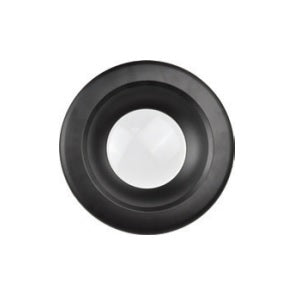
NaturaLED RT-4RL9-BK 4-Inch Black Recessed Trim for Downlight Fixtures
Choose your option
Juno Lighting 2LEDTRIM G2 DB 30K 90CRI FL WWH 2-Inch IC Rated Baffle Recessed Trim Module, White, 30K, 90CRI, Flood Optics
Choose your option

Juno Lighting 65BEMW SWW5 90CRI M6 10.5 Watt 5 / 6 Inch Switchable White Recessed LED Downlight Retrofit Dimmable
Choose your option
Juno Lighting WF6 SWW5 90CRI MW M6 LED 6-Inch Switchable Wafer Downlight Fixture
Choose your option

Juno Lighting 2LEDDRIVER G2 10LM MVOLT ZT LED Driver, 1000 Lumens, MVOLT
Choose your option

Juno Lighting WF4 SWW5 90CRI MW M6 LED 4 Inch Switchable Wafer Downlight Fixture
Choose your option
RAB Lighting WFRL6R139FA120WB 13 Watt 6 Inch Field Adjustable Edge-Lit Wafer Baffle Downlight
Choose your option
Juno Lighting 2LEDTRIM G2 DC 30K 90CRI FL WWH 2-Inch IC Rated Cone Recessed Trim Module, White, 30K, 90CRI, Flood Optics
Choose your option

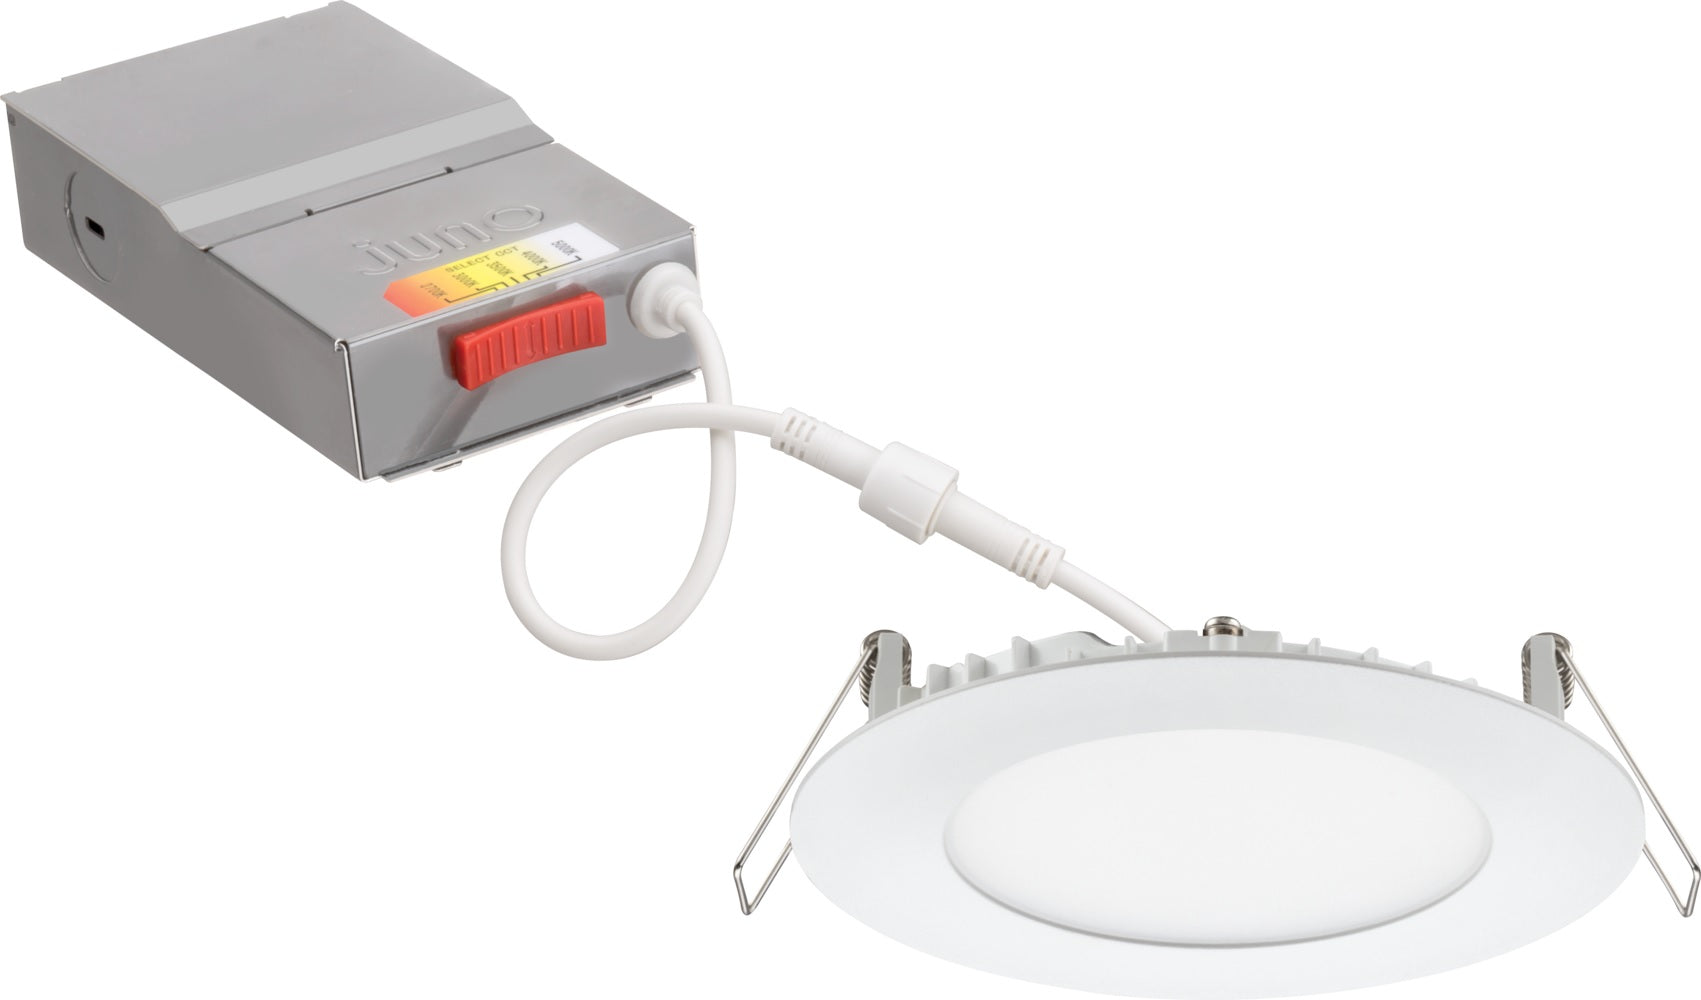
Nicor Lighting DLF5S120S9 SureFit 5-inch Wattage and Color Selectable Ultra Slim Surface Mount LED Downlight Dimmable
Choose your option
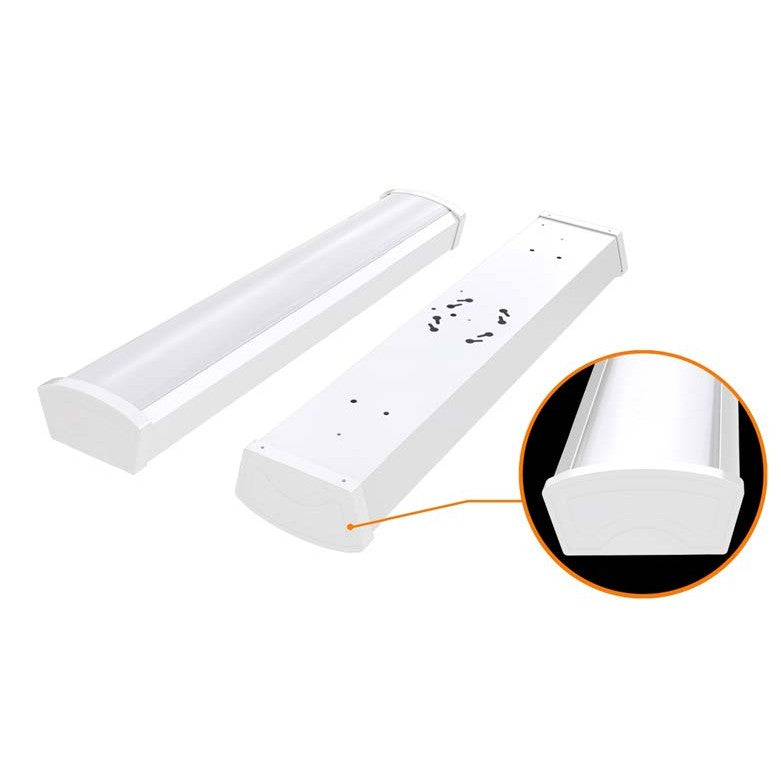
Satco Lighting 65-1082 40 Watt 4 Foot Surface Mount LED Ceiling Wrap Fixture 120-277V White Finish 4000K
Choose your option
Downlight
LED Downlights
LED downlights are recessed fixtures that deliver focused, energy-efficient ceiling illumination. Most manufacturers offer fixed, adjustable, and wall-wash models to cover a wide range of applications, from general ambient lighting to accent work. These fixtures hold up well over time and come in enough styles to work in both functional and decorative contexts.
The fixture itself sits inside the ceiling, so the light source is recessed rather than surface-mounted. That gives you a cleaner ceiling profile and a more streamlined look overall. Size matters here too, both for how the fixture performs and how it reads visually in the space, so it is worth taking a few minutes to think through the right fit before you order.
What Is a Recessed Light
Recessed lighting refers to any fixture installed inside the ceiling rather than mounted on its surface. The light source gets set back, which creates a clean, unobtrusive appearance that works well in spaces where you want the lighting to do its job without calling attention to itself. Recessed downlights are the most common type. They point light straight down and handle general, task, and accent lighting all reasonably well.
People tend to reach for recessed lights when ceiling height is limited or when the design calls for something minimal. They sit flush with the ceiling surface, which makes them a natural fit for contemporary interiors. Because they do not hang down into the room, you also get more even light distribution without the visual weight of a pendant or surface mount fixture.
Ceiling Lights Placement and Planning
Getting placement right makes a real difference in how a finished space feels. A common starting point is to space your fixtures at roughly half the ceiling height. For an 8-foot ceiling, that works out to about 4 feet between downlights, which gives you reasonably even coverage without dark spots between fixtures.
Layering ceiling lights with other sources like wall sconces or pendants gives you more control over the mood in a room. You can use the recessed lights for general coverage and let the accent fixtures handle the atmosphere. It also helps draw the eye to architectural features or artwork you want to highlight.
A few mistakes come up repeatedly in installations. Downlights placed too close to walls create uneven shadows along the surface rather than washing it evenly. Uneven spacing leaves patches of the room underlit. And placing downlights directly above seating is something most designers actively avoid because it creates unflattering downward glare on the people sitting there.
Install Recessed Lighting: New Construction
New construction installs give you the most flexibility because the ceiling structure is open before drywall goes up. That means you can plan the rough-in framing around your lighting layout rather than working around it. Ceiling joists or t-grid systems need to accommodate both the housing dimensions and whatever clearance is required for insulation and wiring.
Housings typically attach to joists with mounting brackets or hang from t-grid systems in drop ceilings. How you attach them matters for both stability and alignment once the finished ceiling is in place. A fixture that shifts slightly during install can look noticeably off once everything is closed up.
New construction work requires permits and electrical inspections in most jurisdictions. It is also worth coordinating the lighting layout with the HVAC and plumbing trades early. Ductwork and pipes have a way of landing exactly where you wanted a fixture, and catching that conflict on paper is a lot cheaper than catching it in the field.
Install Recessed Lighting: Remodel and Retrofit
Retrofitting recessed lighting into an existing ceiling takes a bit more care than new construction because you are working blind. Using a template to mark and cut holes keeps things consistent and helps you avoid cutting into something you should not. Take the time to check what is above the ceiling before you start cutting.
Retrofit housings are designed to either drop into existing ceiling cans or mount directly into drywall without any can at all. Most include integrated clips that lock the fixture in place once it is pushed into the hole, which makes the actual installation reasonably fast. If the ceiling has insulation above it, make sure the housing you choose carries an IC rating.
Sealing around the housing after installation is a step that often gets skipped, but should not be. Air leaks around recessed fixtures are a meaningful source of energy loss in insulated ceilings. Use the sealant or gasket the manufacturer recommends rather than improvising with whatever is on the truck.
Recessed Downlights: Types and Features
Fixed recessed downlights point straight down and stay there. That simplicity is actually an advantage in most applications because the light distribution is predictable and the design stays clean. General ambient lighting is where these earn their keep.
Adjustable recessed downlights have a tiltable inner ring that lets you aim the beam at an angle. That is useful when you want to put light on a specific object, a piece of artwork on the wall, an architectural detail, or a countertop that needs focused task light without a separate fixture overhead.
Wall-wash recessed downlights are built to throw light evenly across a vertical surface. They bring out texture and color in walls and have the added benefit of making a room feel larger. In the right space, a row of wall-wash fixtures along one wall can change the whole character of the room.
Aperture size is something worth thinking through before you order. Smaller apertures in the 2 to 3 inch range work well in compact spaces or where accent lighting is the goal. Larger apertures in the 4 to 6 inch range give you broader coverage and are the more practical choice for living rooms, kitchens, and commercial spaces where general illumination is the priority.
Light Distribution and Beam Options
LED downlights come in a range of beam angles and the difference between them is more significant than it might seem on paper. Picking the right beam angle for the application saves you from a lot of troubleshooting after the fact.
Narrow beam downlights in the 30 to 40 degree range are purpose-built for accent work. They create sharp contrast and draw the eye directly to whatever they are pointing at. Artwork, display cases, architectural features, and retail merchandising are all good fits. The tradeoff is that they cover less area, so you need more of them if general illumination is also part of the goal.
Medium beam downlights in the 50 to 70 degree range split the difference between focused and general lighting. They work well over kitchen counters, work surfaces, and reading areas where you need enough light for detailed tasks without the harshness of a narrow beam. A lot of residential and light commercial installs default to this range for exactly that reason.
Wide beam downlights in the 90 to 120 degree range spread light broadly and evenly. They reduce shadows and give spaces a comfortable, open feel. Living rooms, hallways, and open plan areas benefit from this coverage pattern. Ceiling height plays into the selection too. Higher ceilings often need a narrower beam to get adequate light down to the floor level, while lower ceilings work better with wider beams.
Choosing LED Downlights for Color and Output
Two specs matter most when you are evaluating LED downlights for a project: color rendering and lumen output. CRI of 90 or higher is the threshold where colors start to look genuinely accurate rather than just acceptable. Below 80, you will notice the difference in spaces where color matters.
For general ambient lighting, fixtures in the 600 to 800 lumen range cover most residential and light commercial needs. Task lighting situations call for 900 lumens or more depending on the work being done and how much natural light is already present. Correlated Color Temperature affects the mood of the space as well. Neutral white reads as balanced and clean. Tunable white downlights let you shift the color temperature across different times of day or tasks, which is a genuinely useful feature in spaces that serve multiple functions.
Some of the better downlight product lines on the market offer consistent, high-quality white light across multiple sizes and form factors within the same family. That consistency matters when you are mixing fixture sizes in the same space and do not want visible color variation between them.
IC-Rated vs Non-IC Rated Recessed Lighting
IC rating comes up in almost every recessed lighting install and it is one of those specs that is easy to overlook until something goes wrong. IC-rated fixtures can sit in direct contact with insulation without overheating. Non-IC-rated fixtures need clearance from insulation or they become a fire hazard over time.
The practical implication is straightforward. If the ceiling above the fixture has insulation, you need an IC-rated housing. If it does not, a non-IC-rated fixture is fine. Getting this wrong is a code violation in most places and a safety issue regardless of code. It is worth double-checking the ceiling conditions before you specify a fixture, not after it arrives on the job site.
IC-rated downlights tend to offer more installation flexibility, especially in retrofits where you may not know exactly what you will find above the ceiling until you open it up. When in doubt, the IC-rated option gives you more margin for error.
Maintenance and Repair: Tips for Maintaining Downlights
LED downlights do not require much ongoing attention, but a little routine care goes a long way toward keeping light output and appearance consistent over time. Dust and debris accumulate inside the trim and on the lens, and even a modest buildup can noticeably reduce brightness.
Cleaning is straightforward. Turn the power off first. A soft dry cloth handles most situations. For stubborn buildup, a mild soap solution works well as long as everything is fully dry before power is restored. Moisture and electrical components are not a combination you want to experiment with.
It is worth doing a periodic check on connections and wiring, especially in commercial installs where fixtures run for long hours. Loose connections are the most common cause of flickering and intermittent outages. In retrofit installations, also check that the housing seal around the ceiling opening is still intact. Those seals can shrink or pull away over time, and an air leak there costs real money in energy efficiency.
When repairs are needed, use parts specified for your exact fixture. LED downlights are not all built the same way internally and substituting components from a different product line often creates more problems than it solves. If the repair involves anything beyond swapping a trim piece or a lamp, bring in a licensed electrician. The fixture will perform better and you will not have a code compliance issue on your hands.